[ad_1]
DIY Projects
By: Danny Lipford

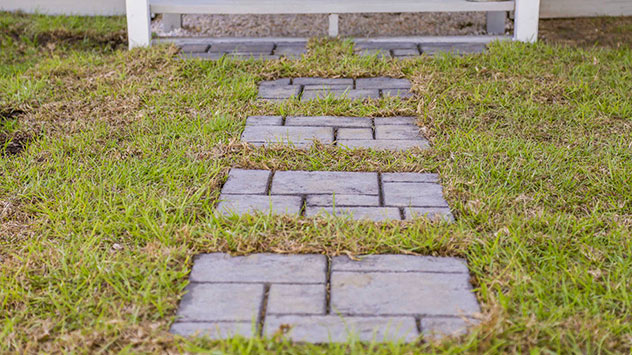
To create a stepping stone path with Walkmaker forms you must first smooth, level and compact the ground on which it will be poured. Then you’ll want to lay out the forms in the space to determine the proper spacing and arrangement before you begin mixing concrete. If you want to add color to the concrete the best way to do that is by adding a dye to the water you use to mix the concrete. Consistency is important, so decide how much water you’ll mix with each bottle of color. Here we’re mixing one bottle with 3and a half gallons of water. Then use that water, and only that water, as you mix the concrete. You want the concrete to be thin enough to flow into the forms easily but not so soupy that it takes forever to dry. Just before you pour each form spray it with a lubricant, like dry silicone, and check it with a level while it’s in position. Once you shovel the concrete into the form it should be spread out and packed into voids with a trowel. You can also use a screed board, which is just a narrow piece of wood a little longer than the form, to spread the mix over the form surface, working it down into the openings and smoothing the surface. After the form is full, tap gently around all sides with a hammer to vibrate the concrete and release any air bubbles which would weaken the concrete and create honeycomb patterns around the edges. As soon as each form is full you can carefully remove it and move on to the next one. Use a trowel to clean up around any rough edges and your work is done.

Creating a Stepping Stone Path Using Concrete Forms
[ad_2]
Source link